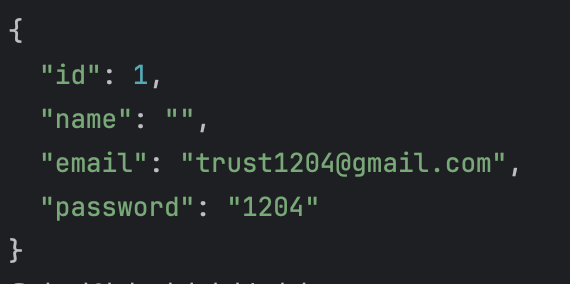
기존에는 이렇게 비밀번호를 평문으로 저장하고 있다.
보안의 문제로 암호화해야 하기에 바로 변경해보도록 하자.
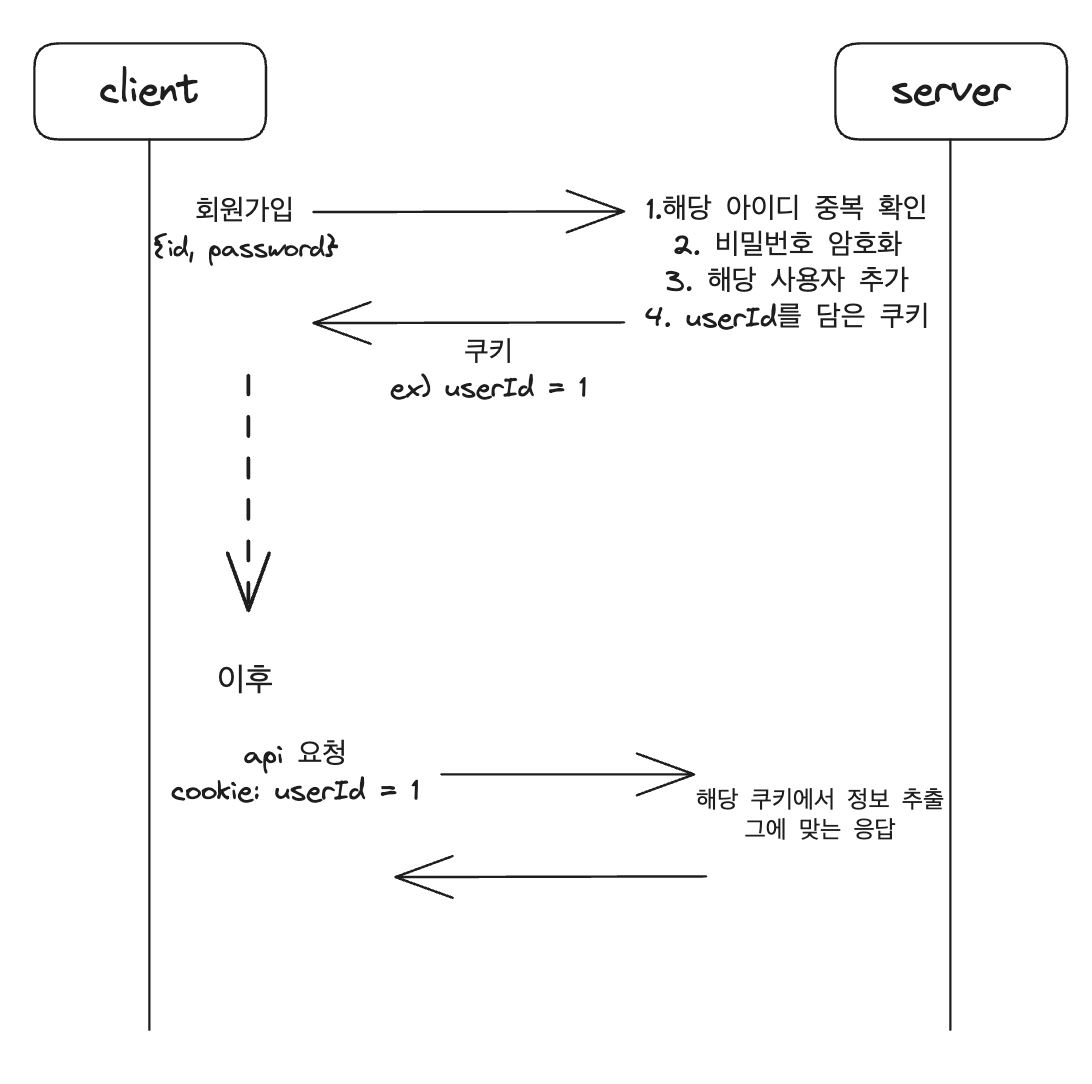
우선 인증은 크게 이렇게 동작한다.
쿠키는 회원가입 뿐만 아니라 로그인시에도 전달해주어야 한다.
일단 이번 글에는 생성되는 사용자에 따라, 비밀번호를 암호화하는 작업에 집중해보자.
우선 암호화는 복호화가 불가능해야한다.

이렇게 암호화는 가능하지만, 암호화된 값을 다시 원래 값으로 복원할 수 없어야 한다는 것이다.
하지만 문제가 있다.
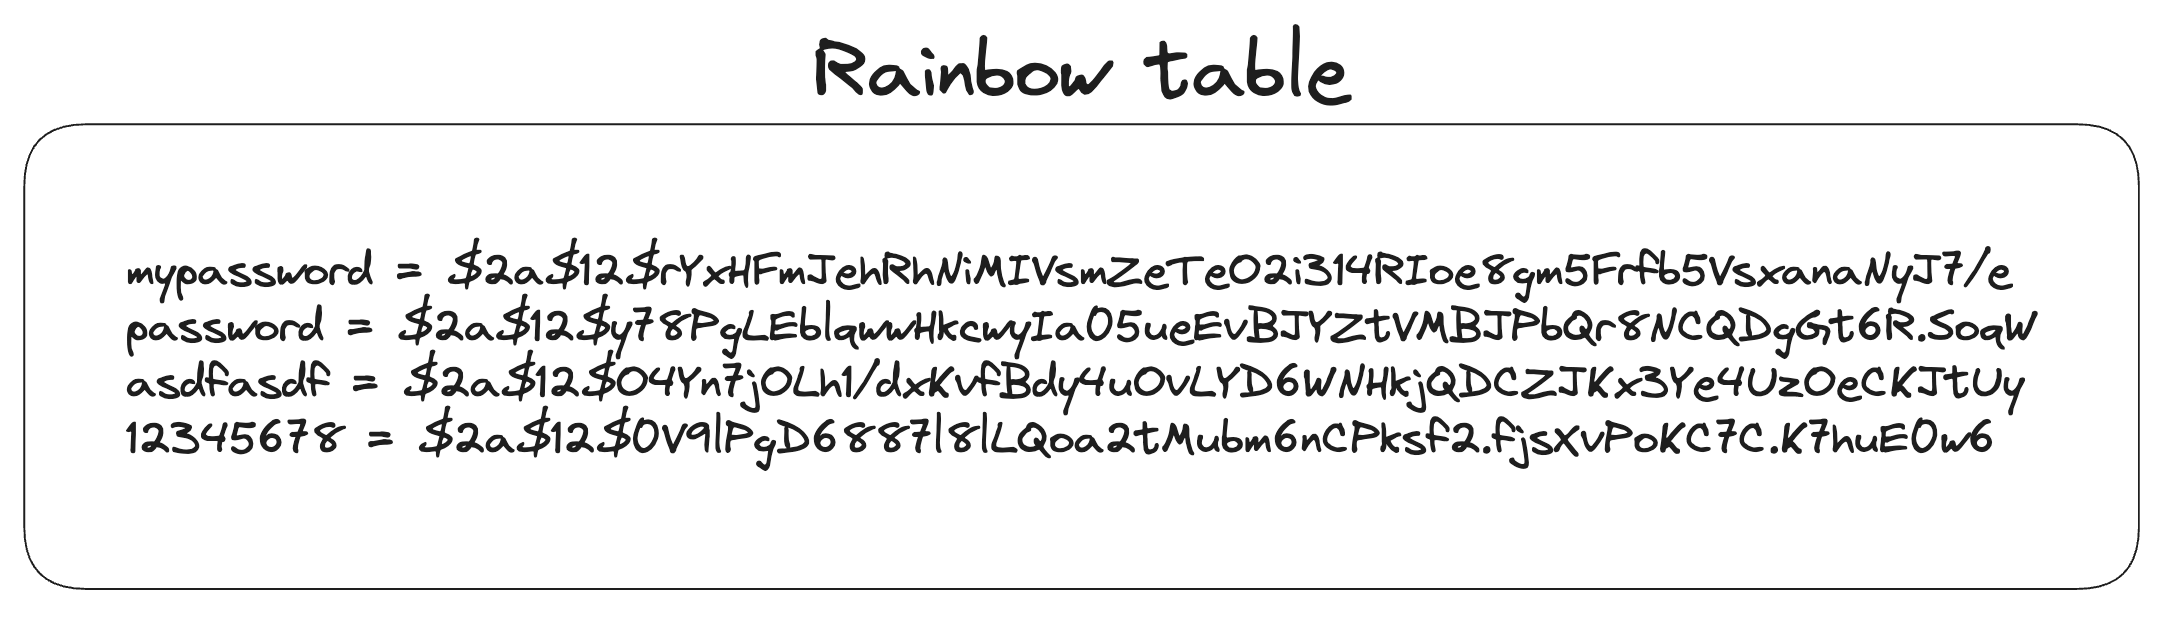
mypassword를 암호화하면 언제나 저 값이기 때문에, $2a$12$rYxHFmJehRhNiMIVsmZeTeO2i314RIoe8gm5Frfb5VsxanaNyJ7/e 이 값을 가지고 있다면 역으로 mypassword의 값을 유추할 수 있는 것이다.
대표적으로 많이 쓰는 비밀번호들이 mypassword, password, asdf... 이런 값들에 대해 미리 암호화를 해두고, 암호화된 값을 비교해가며 원래 비밀번호를 유추하는 해커들이 존재한다.
그리고 그렇게 만들어둔 테이블을 레인보우 테이블이라고 한다.
그렇기 때문에 암호화하면서 무작위 값을 추가하여 암호화해야 한다.
그래야 원래 값이 같아도, 다른 암호화된 값이 나오기에 역으로 유추가 불가능하기 때문이다.
그 때 사용하는 값을 Salt라고 한다.
Salt가 ab152라고 한다면
ab152mypassword 이렇게 암호화를 진행하는 것이다.
그 암호화값이 $2a$12$/5YCKIUqJQoeOARsVvuDeuutm/2EKj4r14xXimYE6jt/MhyWJvO.i라면
$2a$12$/5YCKIUqJQoeOARsVvuDeuutm/2EKj4r14xXimYE6jt/MhyWJvO.i-ab152 이렇게 데이터베이스에 저장하고
로그인 할 때마다 salt를 분리하여 맞춰보는 방법을 사용한다.
이러면 기존이랑 값이 많이 달라지기에 레인보우 테이블로도 문제가 생기지 않는다.
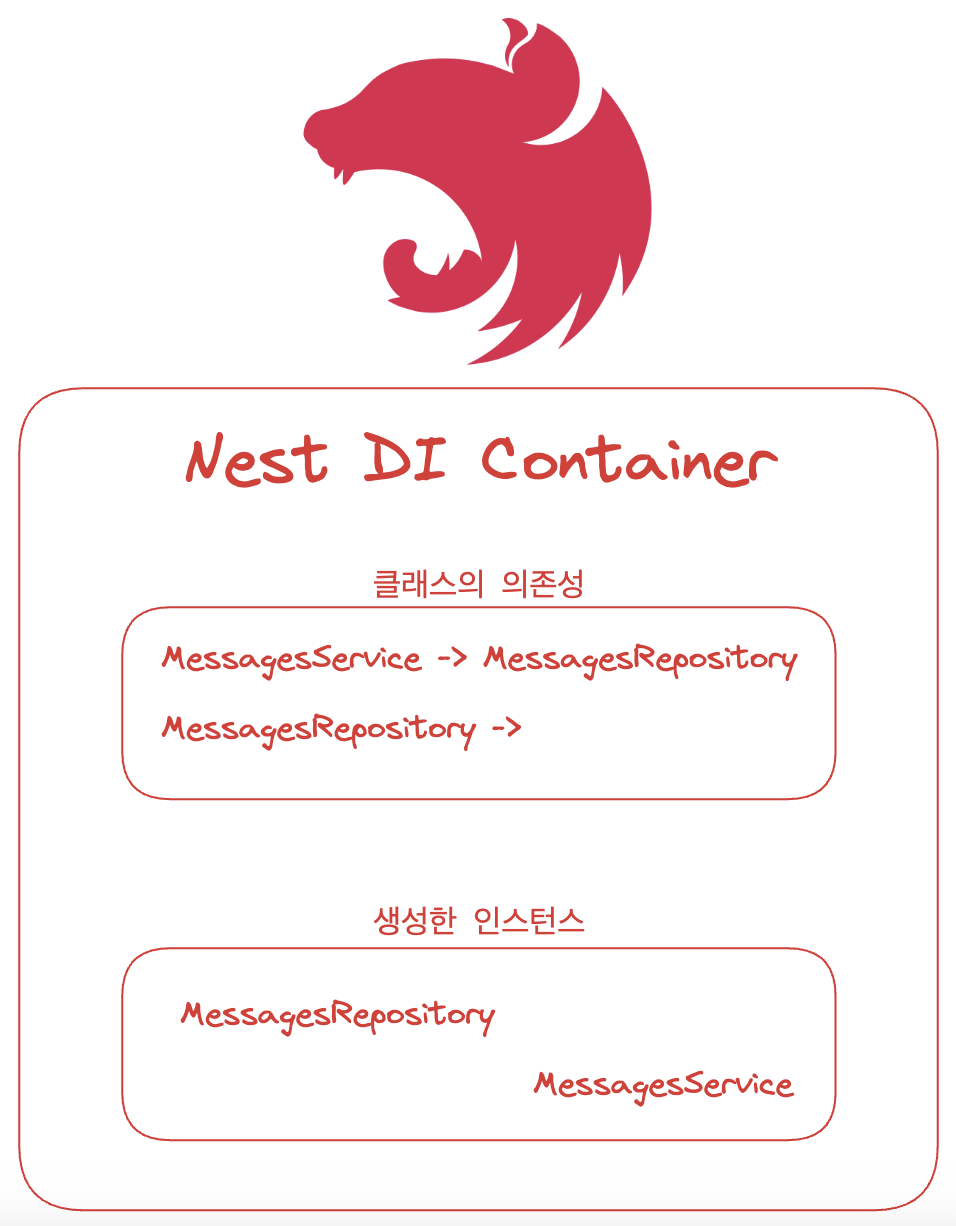
우선 해당 작업을 위해, 기존에 사용하던 UserService와 분리된 AuthService를 생성한다.
확장을 위해 분리했으며, 관심사가 비슷한 User module에 생성하도록 한다.

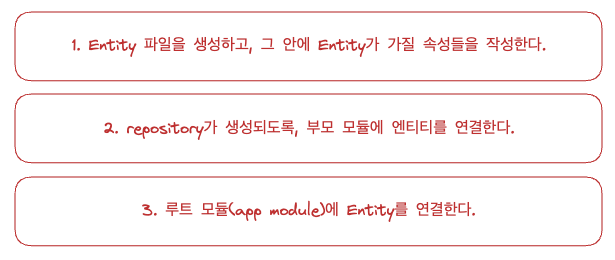
클래스간의 의존성은 다음과 같다.
사이클이 생기지 않도록 잘 관리하도록 하자.
import {Injectable} from "@nestjs/common";
import {UsersService} from "./users.service";

@Injectable()
export class AuthService {
    constructor(private readonly usersService: UsersService) {}
}
@Module({
imports: [TypeOrmModule.forFeature([Users])],
controllers: [UsersController],
providers: [UsersService, AuthService],
})
export class UsersModule {}우선 AuthService를 추가해준다.
    async signUp(createUserDto: CreateUserDto) {
        const {email, password, name} = createUserDto;

        //해당 이메일의 중복 확인

        //사용자 비밀번호 암호화

        //사용자 정보 저장

        //사용자에게 응답
        return await this.usersService.create({email, password, name});
    }
우선 회원가입하는 로직은 다음과 같을 것이다.
우선 중복을 확인하고 중복이면 에러를 반환한다.
        //해당 이메일의 중복 확인
        const existedUser = await this.usersService.findByEmail(email);

        if(existedUser){
            throw new ConflictException('Email already exists');
        }
그 다음은 아래의 코드로 scrypt를 가져와준다.
import {randomBytes, scrypt as _scrypt} from 'crypto';
import {promisify} from 'util';

const scrypt = promisify(_scrypt);
그리고 다음과 같이 salt를 만들어서 암호화하고 이어준다.
        //사용자 비밀번호 암호화
        //SALT값 생성
        //8바이트로 16자리의 16진수 랜덤 문자열을 생성
        const salt = randomBytes(8).toString('hex');

        //SALT와 합쳐서 암호화
        //32자로 암호화된 값을 버퍼로
        const hash = (await scrypt(password, salt, 32)) as Buffer;

        //암호화된 값(16진수로 변환)과 SALT를 결합
        const result = salt + '.' + hash.toString('hex');
전체 메서드는 다음과 같다.
    async signUp(createUserDto: CreateUserDto) {
        let {email, password, name} = createUserDto;

        //해당 이메일의 중복 확인
        const existedUser = await this.usersService.findByEmail(email);

        if(existedUser){
            throw new ConflictException('Email already exists');
        }

        //사용자 비밀번호 암호화
        //SALT값 생성
        //8바이트로 16자리의 16진수 랜덤 문자열을 생성
        const salt = randomBytes(8).toString('hex');

        //SALT와 합쳐서 암호화
        //32자로 암호화된 값을 버퍼로
        const hash = (await scrypt(password, salt, 32)) as Buffer;

        //암호화된 값(16진수로 변환)과 SALT를 결합
        const result = salt + '.' + hash.toString('hex');

        //사용자 정보 저장
        password = result;

        //사용자에게 응답
        return await this.usersService.create({email, password, name});
    }
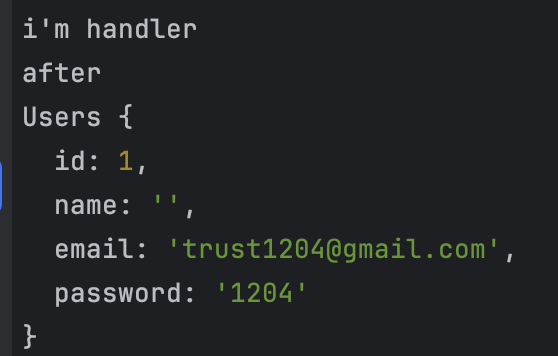
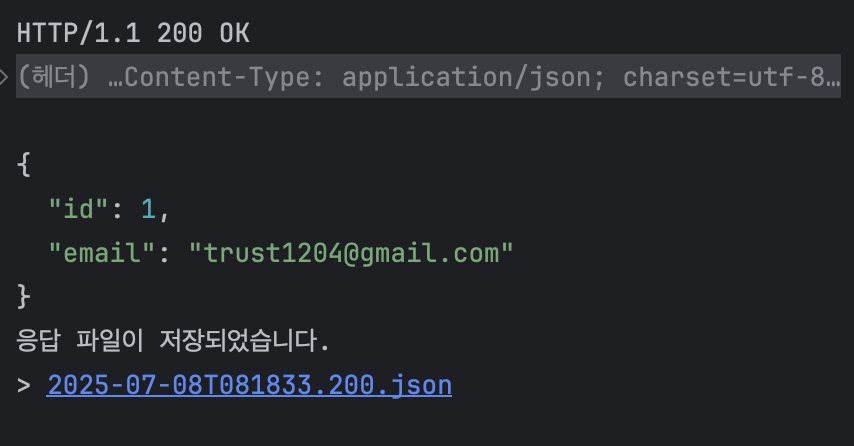
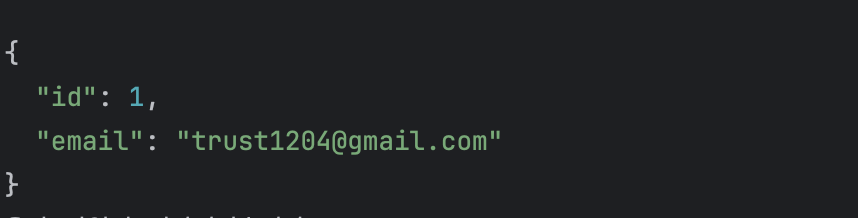
Http로 테스트를 해보니 다음과같이 정상적인 데이터가 들어간 것을 볼 수 있었다.

저 비밀번호는 암호화가 불가능하다.
그렇기 때문에 비밀번호를 확인하기 위해서 사용자가 전달한 비밀번호를 암호화하고 비교해야 한다.
우선 여기까지만 글을 쓰고 다음 글에서 알아보도록 하자.
'Node > Nest' 카테고리의 다른 글
| Nest에서 세션 사용하기 (0) | 2025.07.10 |
|---|---|
| Nest에서 사용자 로그인 검사하기 (0) | 2025.07.10 |
| Nest에서 response json 커스텀하기 (0) | 2025.07.08 |
| Nest에서 repository를 이용해 CRUD 구현하기 (0) | 2025.07.07 |
| Nest에서 typeorm을 통해 Entity 작성하기 (0) | 2025.07.06 |