이전에는 jdbcTemplate으로 쿼리를 교체 했었는데, 의도하지 않았지만 같이 달라진 부분이 있다.
바로 throws에 던지는 예외들이 사라졌다.
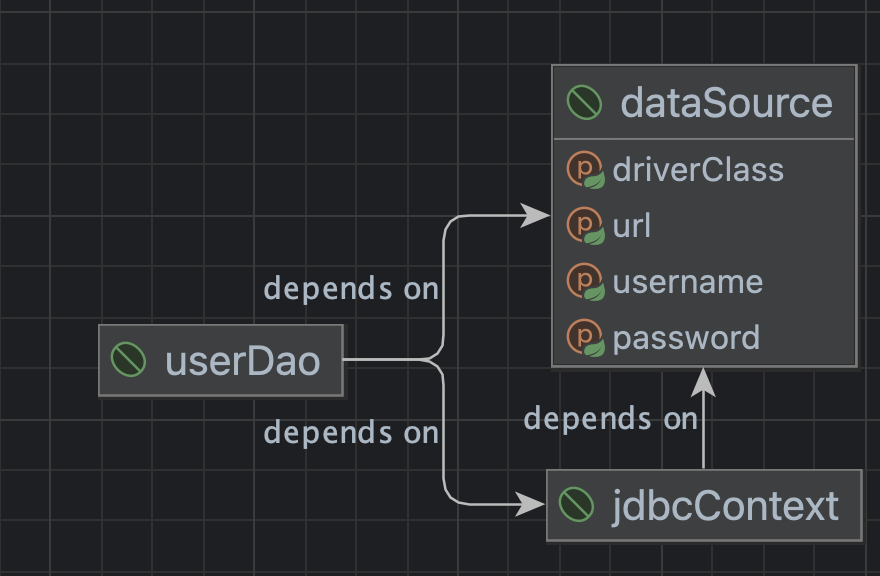
기존에는
public void deleteAll() throws SQLException{
	jdbcContext.executeSql("delete from users");
}
이렇게 작성했지만
지금은
public void deleteAll(){
	jdbcTemplate.update("delete from users");
}
이렇게 throws가 사라진 것을 볼 수 있다.
예외의 종류와 특징
자바에서 예외는 크게 3가지라고 한다.
- Error
주로 JVM에서 발생하는 에러이기에 애플리케이션 코드로 잡을 수는 없다.
이 예외는 처리할 필요도 할 수도 없다고 한다.
- Exception과 체크 예외
java.lang.Exception을 상속받아 만든 클래스들이다. 개발자가 작성한 애플리케이션 코드에서 예외가 발생했음을 알리는 것이며 Exception 클래스는 다시 체크 예외와 언체크 예외로 구분된다. 체크 예외는 RuntimeException을 상속받지 않은 클래스, 언체크 예외는 RuntimeException을 상속받은 클래스이다. 체크 예외가 발생할 수 있는 메서드를 사용하면 catch로 감싸던지, throws로 밖에 던지든지 해야한다.
- RuntimeException과 언체크 예외
java.lang.RuntimeException 클래스를 상속한 예외들은 명시적인 예외처리를 강제하지 않기 때문에 언체크 예외라고 불린다. 주로 프로그램의 오류가 있을 때 발생하도록 의도되었으며, NullPointerException이 해당된다.
예외처리 방법
이렇게 예외의 종류를 알아보았으니, 예외를 처리하는 방법들에 대하여 알아보자.
크게 3가지가 존재한다.
- 예외 복구
예외의 상황을 파악하고, 문제를 해결해서 돌려놓는 것이다.
만약 데이터베이스에 접근해야 하는데, 네트워크 관련으로 문제가 발생한다. 이런 경우에 예외 처리 부분에서 직접 연결의 재시도를 수행한다면, 이것은 예외 복구에 해당하는 것이다. 물론 일정한 횟수까지만 재시도를 시도해야 한다.
- 예외처리 회피
예외처리를 자신이 담당하지 않고, 자신을 호출한 쪽으로 던져버리는 것이다. 물론 무책임하게 계속 상위 메서드로 보내라는 것이 아니다. JdbcTemplate도 SQLException을 거기서 처리하지 않고 던져주고 있다. 템플릿에서 처리할 문제가 아니라고 생각하기 때문이다. 무조건 발생한 곳에서 처리하는 것이 아닌, 상위 메서드로 보내서 적절한 곳에서 처리하는 것도 좋은 방법이다.
- 예외 전환
예외를 회피하기보다 다른 예외로 전환하는 방식이다.
사용하는 이유는 크게 2가지이다. 첫째는 해당 예외 상황을 더 자세하게 말해주도록 커스텀 예외를 만들어서 전환하는 경우, 둘째는 체크 예외를 언체크 예외르 바꾸는 경우에 사용한다.
대부분 서버에서는 처리되지 않은 예외를 일괄적으로 다룰 수 있는 기능을 제공한다. 이렇게 처리되지 못한 에러들을 관리자에게 메일로 통보해주고, 사용자에게 에러메시지를 적절하게 보여주는 것이 가장 바람직한 방법이다.
예외처리 전략
사실 지금까지 계속 자바의 예외에 대하여 공부하고 있지만, 사실 이 자바를 스프링에서 사용하기 위함이었다. 스프링은 보통 하나의 요청에 대해 하나의 응답을 주고 있는데, 이 중간에 에러가 발생해도 사용자와 상호작용이 불가능하다. 그렇기에 사실상 대부분의 예외가 처리가 불가능하기에 체크 예외가 굳이 필요하지 않다는 것이다. 차라리 그런 예외 상황을 만들지 않는 것이 더 중요하다고 한다. 어쩌면 언체크 예외로 한번에 처리하는 것이 더 좋을 수도 있다.
public void add(User user) throws DuplicateUserIdException, SQLException{
	try{
    	//
    }
    catch (SQLException e){
    	if(e.getErrorCode() == MysqlErrorNumbers.ER_DUP_ENTRY)
        	throw DuplicateUserIdException();
        else
        	throw e;
    }
}
여기 수정된 add() 메서드를 보면 DuplicatedUserIdException, SQLException 두 가지의 예외를 던지고 있다.
중복이 발생한 경우에는 DuplicatedUserIdException이 더 명확한 의미를 지니기에 해당 예외로 전환했다.
그리고 DuplicatedUserIdException은 복구가 가능하지만, SQLException은 보통 복구가 불가능하기에 런타임 예외로 그냥 던져버리는게 나을 수도 있다.
그렇기에 예외처리 전략을 수정해서 다음과 같이 바꿀 수 있다.
public void add(User user) throws DuplicateUserIdException{
	try{
    	//
    }
    catch (SQLException e){
    	if(e.getErrorCode() == MysqlErrorNumbers.ER_DUP_ENTRY)
        	throw new DuplicateUserIdException(e);
        else
        	throw new RuntimeException(e);
    }
}
의미를 가지는 DuplicateUserIdException을 제외하고는 언체크 예외가 되었다.
이제 add()를 사용하는 곳에서는 더 이상 불필요하게 SQLException을 처리할 필요가 없으며 DuplicateUserIdException은 핸들링 할 수 있다.
이렇게 복구할 수 없다고 생각하고 그냥 낙관적으로 생각해버리는 것이 런타임 예외 중심 전략이다. 반면에 시스템 또는 외부의 예외상황이 원인이 아니라 애플리케이션 자체의 로직에서 발생시키고, catch 하도록 바라는 것이 있다. 이런 예외들은 애플리케이션 예외라고 한다. 이런 예외들은 if문보다 더 명확하게 해당 로직을 처리하도록 개발자에게 강요한다.
SQLException은 어떻게 되었나?
이제는 알 수 있을 것이다.
왜 SQLException을 처리할 필요가 없어졌는지
우선 SQLException은 Exception으로 체크 예외이다.

jdbcTemplate에서는 이러한 SQLException을

이렇게 잡아서 DataAccessException으로 처리하고 있다.
DataAccessException은

RuntimeException이기 때문에, 언체크 예외로 전환된 것을 알 수 있다.
대부분의 경우 SQLException은 복구가 불가능하다.
네트워크와 관련된 부분을 로직에서 어떻게 처리하겠는가?
그렇기에 로직에서 수정 가능한 DataAccessException만 처리하도록 하고, 나머지는 그냥 모두 포기한 것이다.

DuplicateKeyException도 최종적으로는 DataAccessException을 상속받고,

CannotGetJdbcConnectionException도 DataAccessException을 상속받는다.
하지만 CannotGetJdbcConnectionException은 개발자가 어떻게 할 수 있는 예외가 아니다. 그렇기에 DuplicateKeyException만 처리하면 된다. 그래도 개발자에게 처리를 강요하지는 않는 것이다.
이 밖에도 스프링의 대부분의 예외는 런타임 예외로 개발자에게 처리를 강요하지는 않는다고 한다.
'백엔드 > 토비의 스프링' 카테고리의 다른 글
| [토비의 스프링] 3.6 스프링의 JdbcTemplate (1) | 2025.06.02 |
|---|---|
| [토비의 스프링] 3.5 템플릿과 콜백 (1) | 2025.06.02 |
| [토비의 스프링] 3.4 컨텍스트와 DI (0) | 2025.05.29 |
| [토비의 스프링] 3.3 JDBC 전략 패턴의 최적화 (0) | 2025.05.26 |
| [토비의 스프링] 3.2 변하는 것과 변하지 않는 것 (0) | 2025.05.25 |