Java에서 NIO에 대해 알아보자.
java New Input/Output의 줄인말이며, 파일과 네트워크에 데이터를 읽고 쓸 수 있는 API를 제공한다.
buffer기반이며, non-blocking을 지원한다.
java IO는 InputStream, OutputStream을 사용해서 방향이 정해져있었다면, NIO는 Channel을 이용해 읽고 쓰기가 한번에 가능하다.
또한 NIO는 아예 시작부터 buffer의 단위로 데이터를 주고 받는다.
Channel, Buffer
데이터를 읽을 때는 Channel read()를 사용하여 버퍼에 데이터를 저장한다.
데이터를 쓸 때는 Channel write()를 사용하여 버퍼에 데이터를 쓴다.
이 버퍼에서도 ByteBuffer부터 CharBuffer까지 다양한 타입의 버퍼가 존재한다.
Buffer의 위치
버퍼의 현재 커서를 나타내는 다양한 속성이 있다.
capacity: Buffer의 크기이다. Buffer 생성시에 결정된다.
position: Buffer의 현재 위치이다. 버퍼에서 데이터를 읽거나 쓸 때 시작하는 위치이며, 1Byte가 추가될 때마다 1씩 증가한다.
limit: Buffer에서 데이터를 읽거나 쓸 수 있는 마지막 위치이다. limit 이후로 데이터를 읽거나 쓰기 불가능하다.
mark: 현재 position의 위츠를 지정한다.
Buffer의 위치 메서드
flip: Buffer의 limit 위치를 현재 position으로 이동시키고, position을 0으로 리셋한다.
rewind: Buffer의 position 위치를 0으로 리셋. limit은 유지한다.
clear: Buffer의 limit 위치를 capacity 위치로 이동시키고, position을 0으로 리셋한다.
Buffer
Java IO는 JVM의 버퍼에만 접근이 가능하고, 시스템 자체에는 접근이 불가능했다.
하지만 Java NIO는 시스템 버퍼에도 접근이 가능하다.
NIO의 버퍼들이다.
| DirectByteBuffer | HeapByteBuffer |
| 시스템 자체 메모리에 저장 | JVM Heap 메모리에 저장 |
| 자체 메모리에서 JVM으로 복사를 하지 않기 때문에 속도가 빠르다. | JVM으로 복사가 일어나므로 데이터를 읽고 쓰는 속도가 느리다. |
| allocate, deallocate가 느리다. | gc에서 관리하기에 allocate, deallocate가 빠르다. |
DirectByteBuffer는 allocateDirect() 함수로 생성이 가능하고, HeapByteBuffer는 allocate(), wrap() 함수로 생성 가능하다.
isDirect인지 DirectBuffer인지 아닌지 확인 가능하다.
FileChannel - Read
@Slf4j
public class FileChannelReadExample {

    public static void main(String[] args) throws IOException {
        log.info("start");

        var file = new File("path");

        try(var fileChannel = FileChannel.open(file.toPath())){
            var byteBuffer = ByteBuffer.allocateDirect(1024);
            fileChannel.read(byteBuffer);
            byteBuffer.flip();

            var result = StandardCharsets.UTF_8.decode(byteBuffer);
            log.info("result: {}", result);
        }
        log.info("end");
    }
}
allocateDirect로 커널을 사용하여 파일을 읽어온다.
NIO를 사용하기 때문에 FileChannel에서 읽고 쓰기가 가능하다.
아래는 ByteBuffer.wrap()으로 JVM버퍼를 사용하는 예제이다.
@Slf4j
public class FileChannelWriteExample {

    public static void main(String[] args) throws IOException {
        var file = new File("path");

        var mode = StandardOpenOption.WRITE;
        try(var fileChannel = FileChannel.open(file.toPath(), mode)){
            var buffer = ByteBuffer.wrap("Hi Seungkyu~~".getBytes());
            var result = fileChannel.write(buffer);
            log.info("result: {}", result);
        }
    }
}
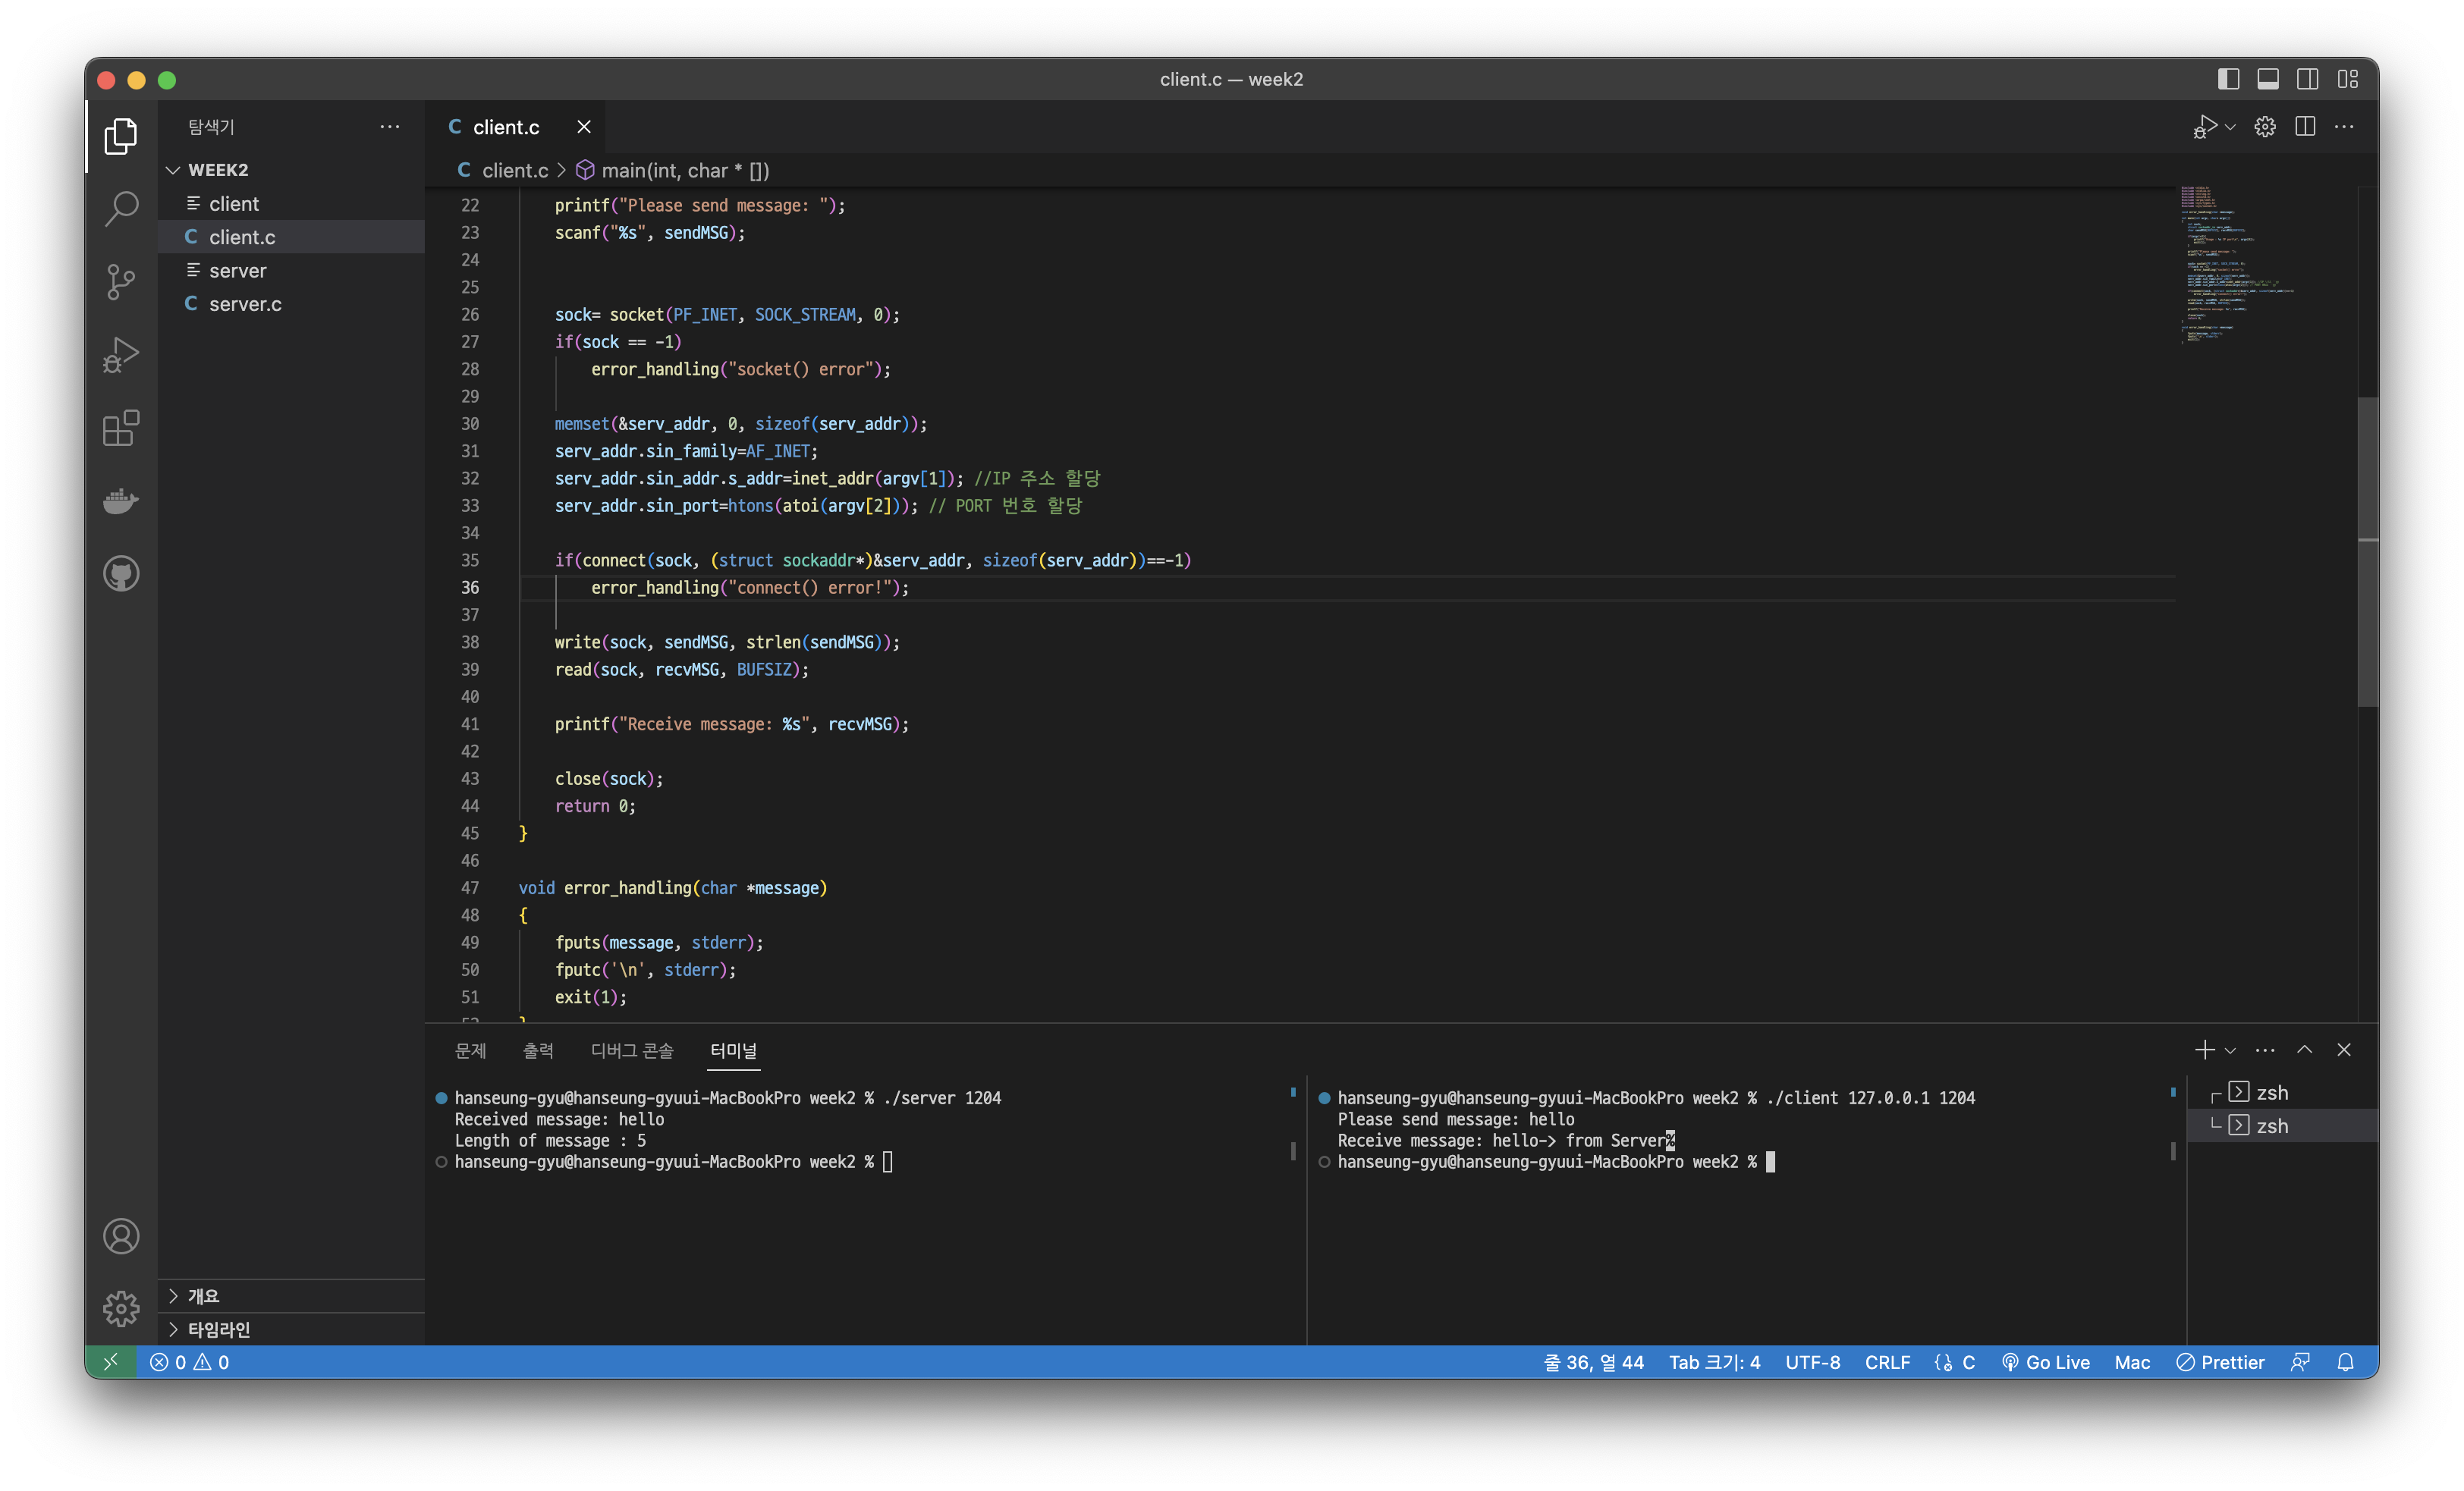
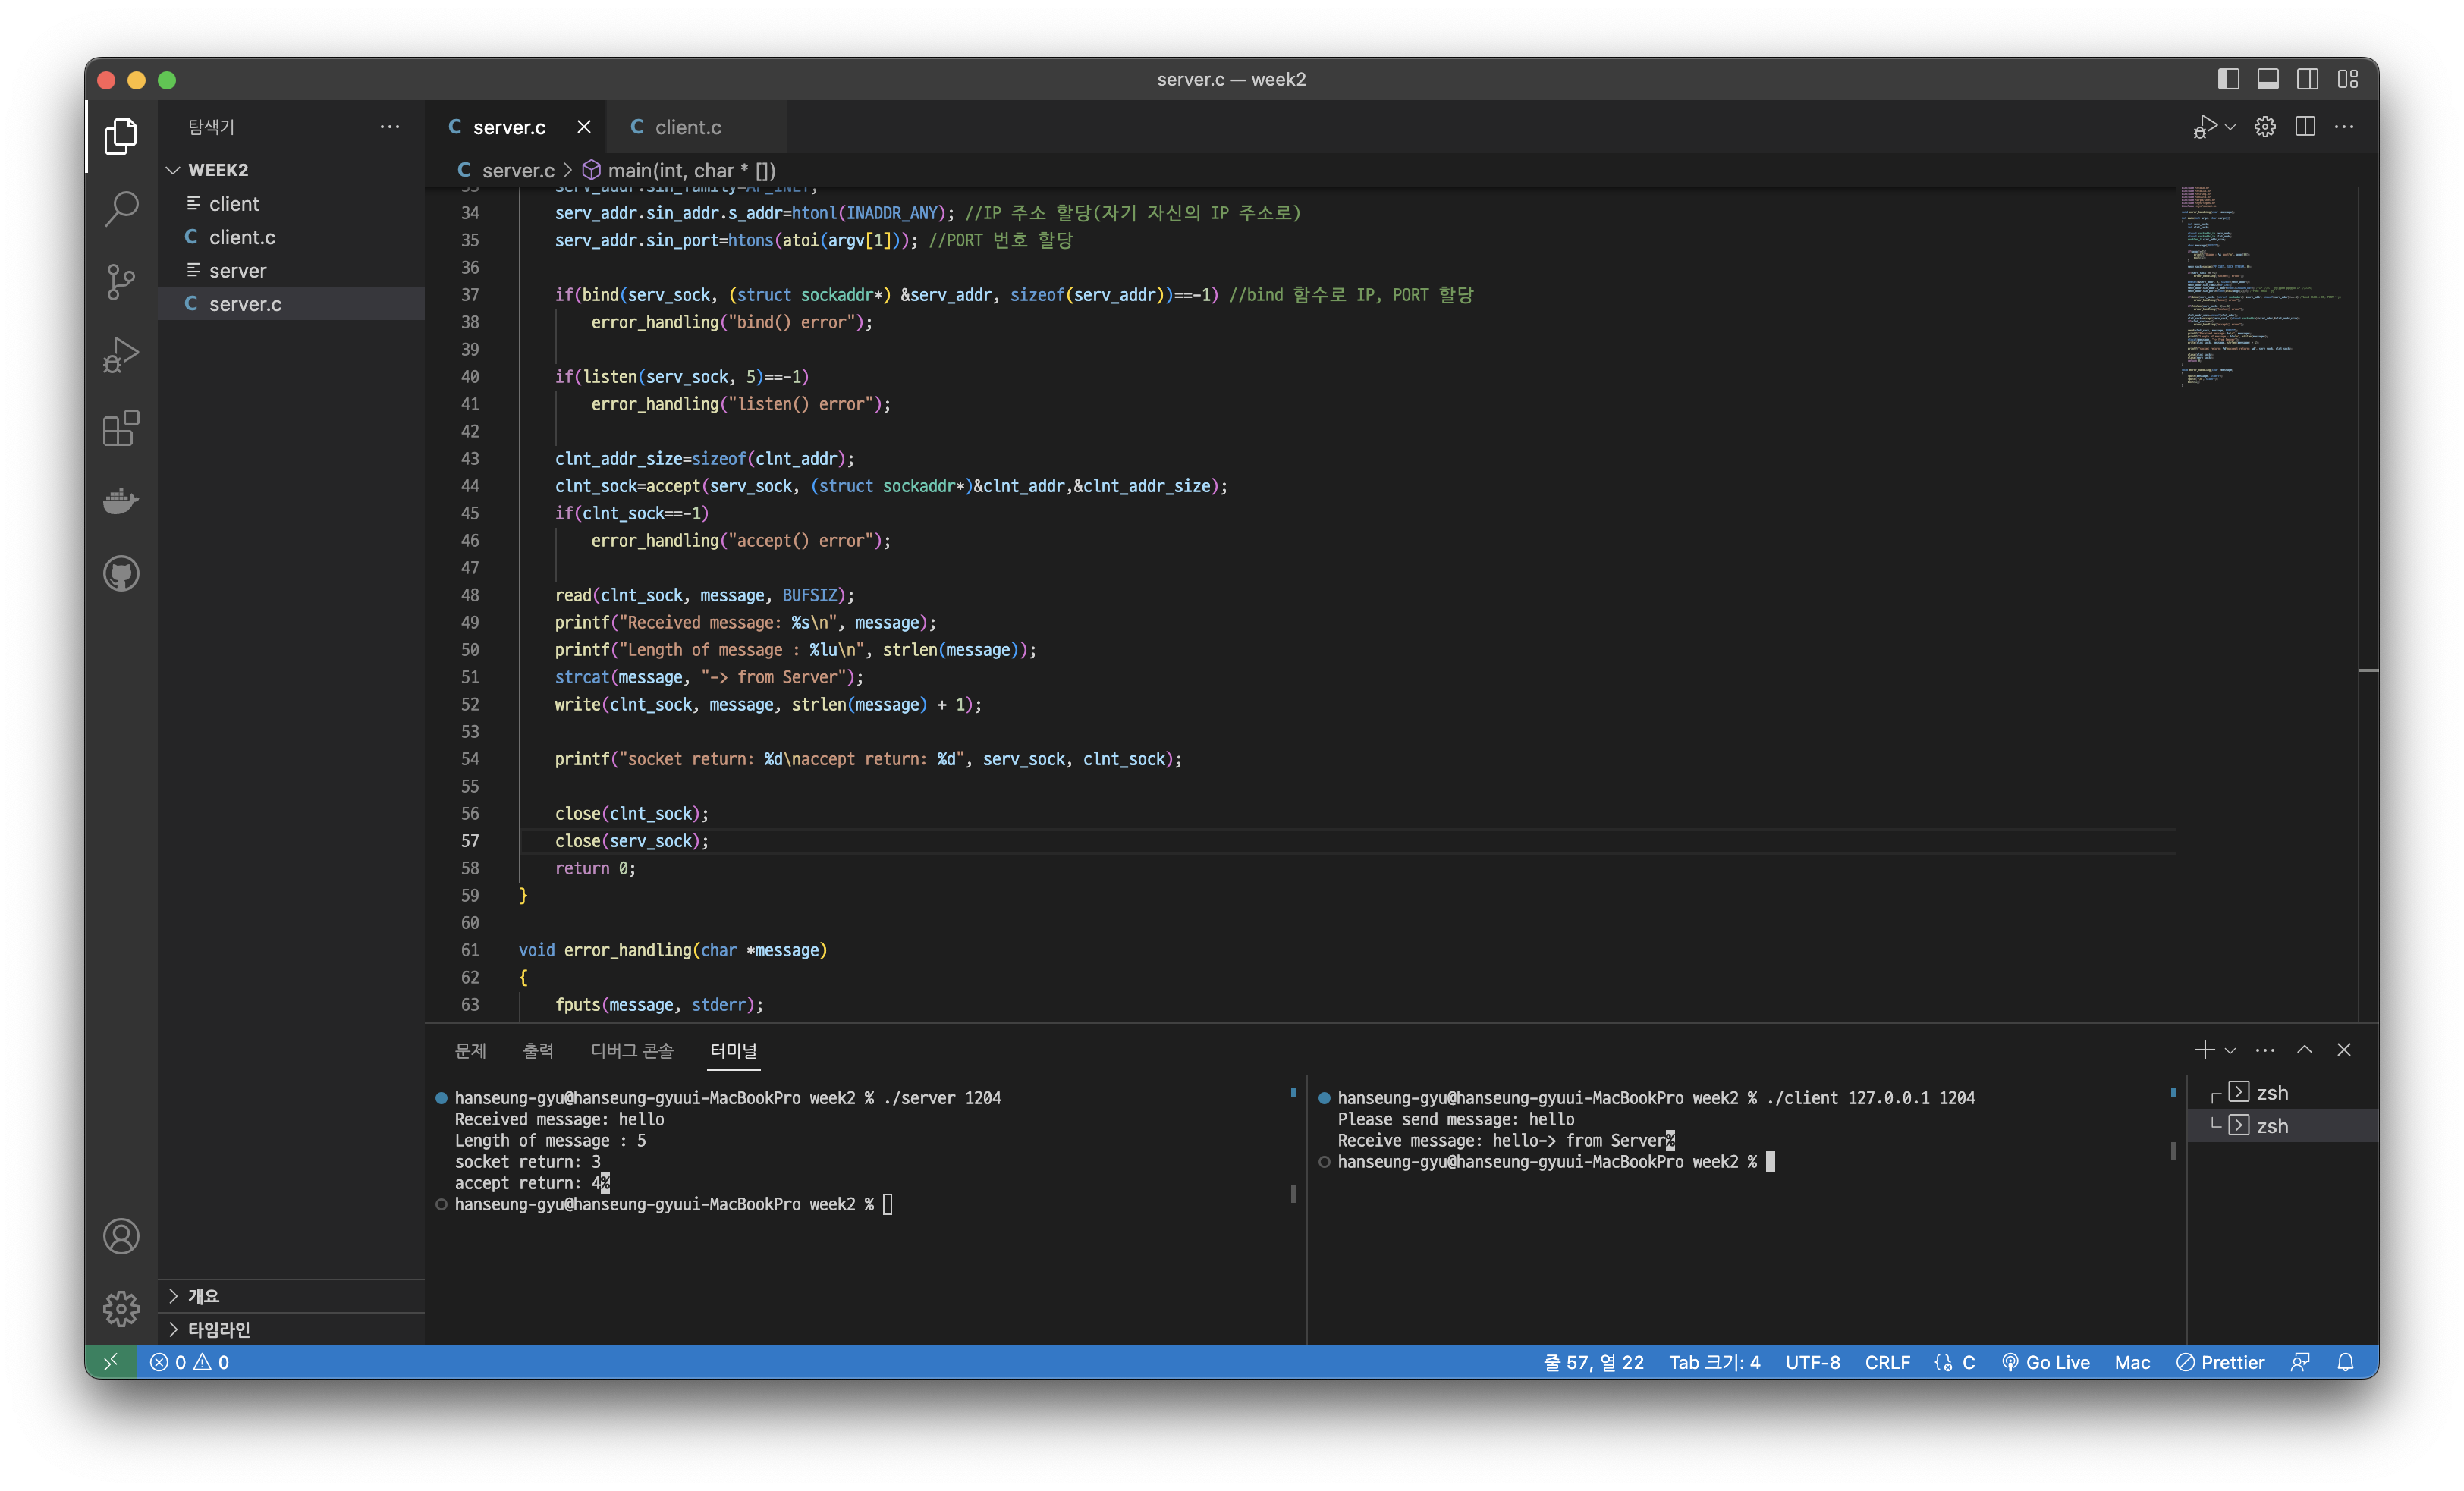
SocketChannel
이제 배운것들로 소켓 서버와 클라이언트를 만들어보자.
우선 서버이다.
@Slf4j
public class ServerSocketChannelExample {

    public static void main(String[] args) throws IOException {

        log.info("start");

        try(var serverChannel = ServerSocketChannel.open()){
            var address = new InetSocketAddress("localhost", 8080);
            serverChannel.bind(address);

            try(var clientSocket = serverChannel.accept()){
                ByteBuffer byteBuffer = ByteBuffer.allocateDirect(1024);
                clientSocket.read(byteBuffer);
                byteBuffer.flip();

                var request = new String(byteBuffer.array()).trim();
                log.info("request: {}", request);

                var response = "I am Server";
                var responseBuffer = ByteBuffer.wrap(response.getBytes());
                clientSocket.write(responseBuffer);
                responseBuffer.flip();
            }

        }

        log.info("end");
    }
}
Direct 버퍼를 만들어서 읽어온다.
Socket에서도 read와 flip을 사용해서 읽어노는 것을 볼 수 있다.
다음은 클라이언트이다.
@Slf4j
public class ClientSocketChannelExample {

    public static void main(String[] args) throws IOException {
        log.info("start");

        try(var socketChannel = SocketChannel.open()){
            var address = new InetSocketAddress("localhost", 8080);
            var connected = socketChannel.connect(address);
            log.info("connected: {}", connected);

            String request = "I am Client";
            ByteBuffer requestBuffer = ByteBuffer.wrap(request.getBytes());
            socketChannel.write(requestBuffer);
            requestBuffer.clear();

            ByteBuffer responseBuffer = ByteBuffer.allocateDirect(1024);
            while (socketChannel.read(responseBuffer) > 0){
                responseBuffer.flip();
                log.info("response: {}", StandardCharsets.UTF_8.decode(responseBuffer));
                responseBuffer.clear();
            }
        }
        log.info("end");
    }
}
'백엔드 > 리액티브 프로그래밍' 카테고리의 다른 글
| Java AIO (0) | 2024.03.19 |
|---|---|
| Java IO Server 서버를 NIO로 변경 (0) | 2024.03.19 |
| JAVA IO (0) | 2024.03.18 |
| Mutiny (0) | 2024.03.14 |
| RxJava Reactor (2) | 2024.03.14 |